DIY renovation of traditional Japanese house ―― part4
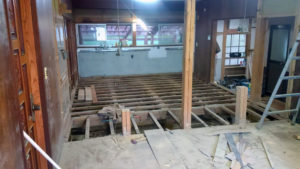
三重県伊賀市に購入した古民家をDIYでリノベーションしています。以前のブログ「広いリビング・ダイニング計画 part3」に引き続き、床の張り替え工事についてです。下の写真のとおり、前回までに、古い床板を撤去しています。
※ I am not very good at English, so I apologize in advance.
We are renovating traditional Japanese houses by DIY. This blog is about the construction work of the floor continuing to the previous “DIY renovation of traditional Japanese house ―― part3”. As shown in the picture below, we have removed old floorboards by the previous time.
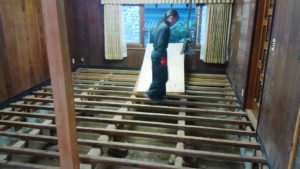
次は、いよいよ新しい床板を張っていきます。まずは新しい床板(コンパネ)を並べてみました。
Next we will put up new floorboards. First we tried placing a new floorboard.
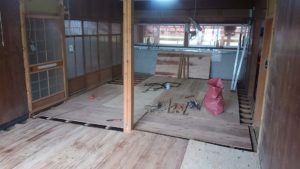
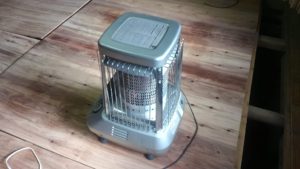
こうして床板(コンパネ)を並べてみると、できあがりをイメージできるようになり、作業が楽しくなってきます。が、床板がない状態では、外の冷気が入りこんできて、とても寒い! ただでさえ老体にムチ打ってやっている身にはこたえます(笑)。そこで投入したのが、これ! 大きな石油ストーブです。これでようやく落ち着いて作業ができます!
When placing the floorboards in this way, we can imagine the completion. So we got to enjoy the work. However outside cold air enters in the absence of floor boards and it is very cold! The coldness is dangerous for us who are not young anymore (haha). That’s what we put in there! It is a big oil stove. We can work calmly with this!
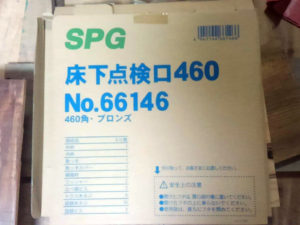
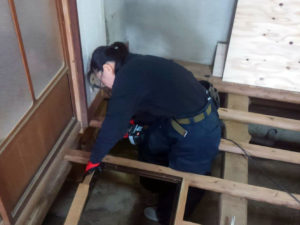
今まではなかった床下点検口を取り付けたり、悪くなっていた下地を補修したりしながら作業を進めていきました。
We installed the underfloor inspection hole and repaired the frame of underfloor which was getting worse.
そして、二日ほどかけて全ての床板(コンパネ)を張り終えました。
And we lay all the flooring boards for a couple days.
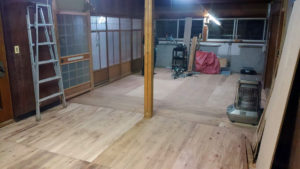
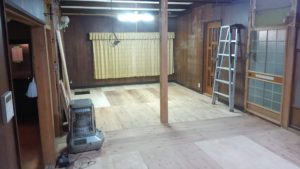
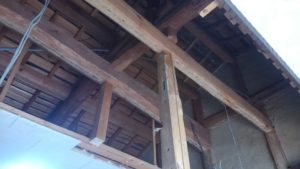
お~お~ッ!! いい感じです。もともとは二つの部屋だったのが、広々とした リビング&ダイニング になりました! 次は、もう一枚、この上から床板(コンパネ)を張ってから、さらにフローリングを張ります。と、その前に、雨漏りで痛んでいたので取っ払った天井の補修をしなければなりません――。
Oh oh, very nice! Originally it was two rooms, but now it is a spacious dining room. We are going to lay the flooring further from above in the next work . But before that we have to repair the ceiling.
今年の作業はここまでです。来年も、ボチボチと頑張ります!! 楽しみにしていてください。
This year’s work is over for us. We will do our best to renovate our old house Next year too. You can look forward to it.
【 archive 】
◆ 広いリビング・ダイニング計画 part 4
◆ 広いリビング・ダイニング計画 part 3
◆ 広いリビング・ダイニング計画 part 2
◆ 広いリビング・ダイニング計画 part 1
めっちゃできる職人さんいはる!!
ニッカポッカがよう似おうてますやろ(笑)